
Перезапуск игры Alone in the Dark отложен до января 2024 года, чтобы избежать конкуренции с Alan Wake 2 и Spider-Man 2 – GameTopic
THQ Nordic отложила перезапуск Alone in the Dark, чтобы избежать других крупных игр, выходящих в октябре.

Посмотрите на 64 красивых скриншота из Super Mario Bros. Wonder – GameTopic
В дополнение к новым кадрам и многому другому, Nintendo выпустила 64 новых скриншота из Super Mario Bros. Wonder. Про...

Объявление Версия Armored Core 6 для PS4 Pro на PS5, кажется, работает с блокированными 60 кадрами в секунду – GameTopic.
Версия Armored Core 6 для PS5 работает очень хорошо и в основном на 60 кадрах в секунду в режиме производительности, ...
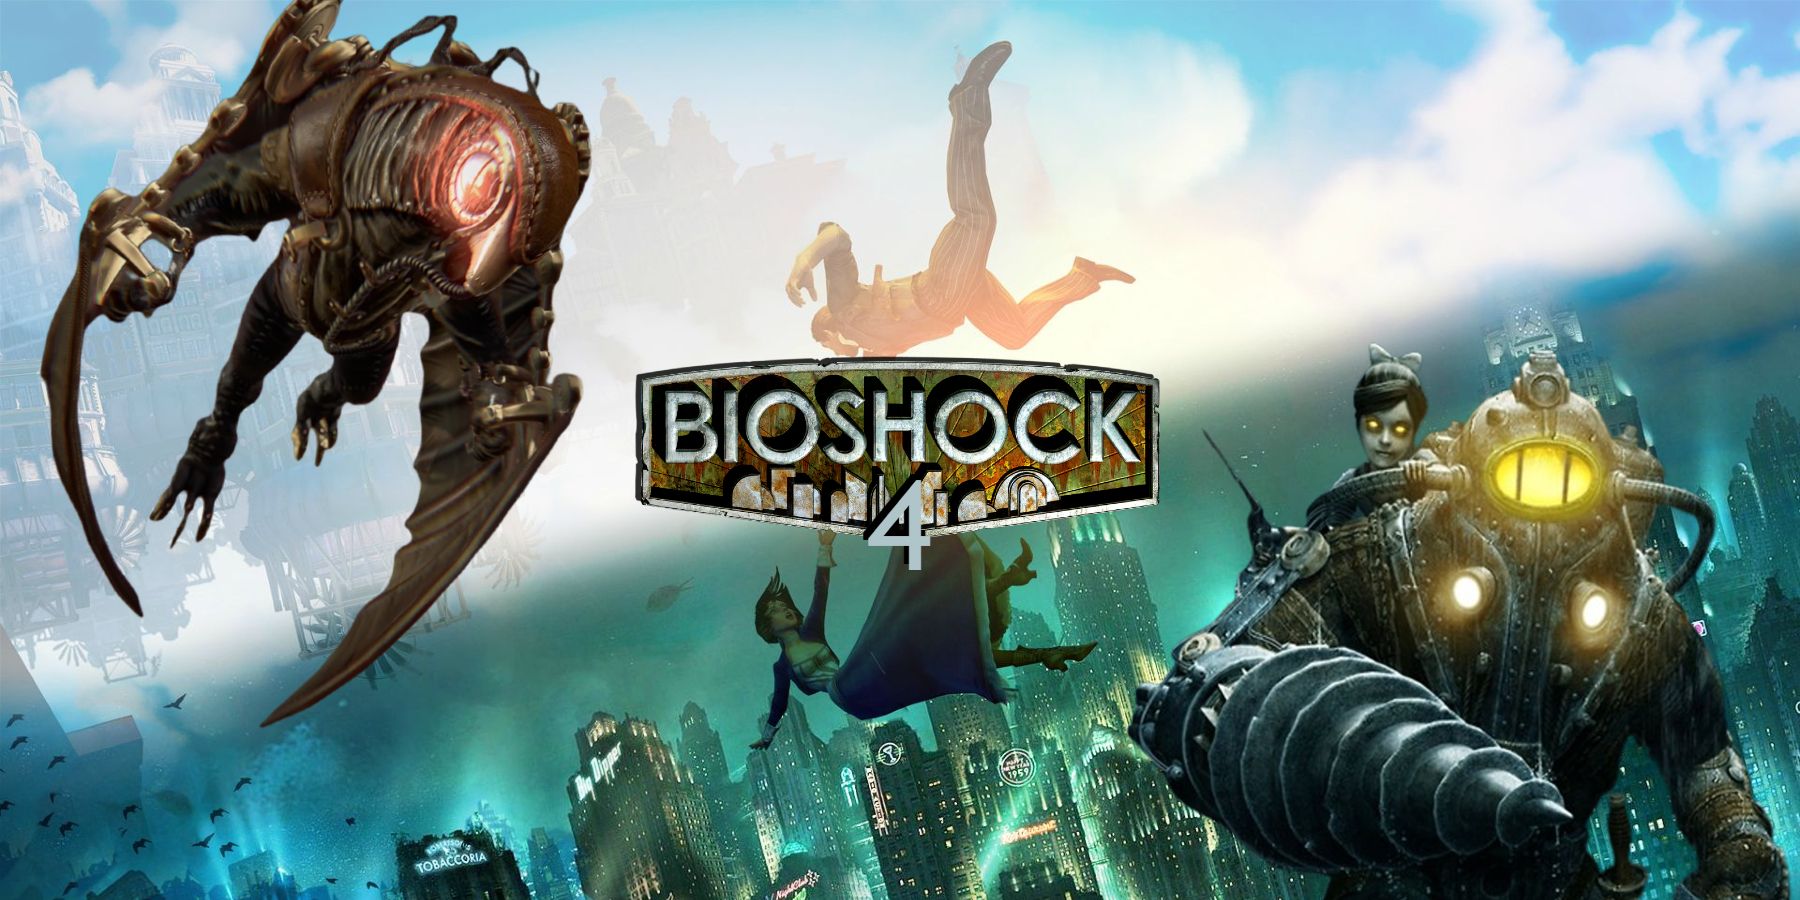
Почему проклятый враг DesGameTopic – самый важный ключ к успеху BioShock 4
Чтобы продолжить традиции и темы серии BioShock, BioShock 4 должен оправдать своих собственных ужасных врагов.

Excitebike 64 появится в Nintendo Switch Online на следующей неделе – GameTopic
Excitebike 64 - это последняя игра, которая присоединится к библиотеке Nintendo Switch Online N64 и будет доступна в ...

STALKER 2 дебютирует в начале 2024 года, согласно информации разработчика – GameTopic
После множества догадок, мы, возможно, только что узнали, когда наконец выйдет СТАЛКЕР 2 Сердце Чернобыля, благодаря ...

Обзор игры Madden NFL 24 – GameTopic
Новые анимации и улучшенный искусственный интеллект делают игровые действия на поле в Madden NFL 24 лучшими, чем когд...

Age Of Empires 4 теперь доступна на Xbox и можно играть в него с помощью Game Pass
Игроки Xbox наконец-то могут насладиться Age Of Empires 4.

Да, Metal Gear Solid Master Collection Vol. 1 также будет на PS4 – GameTopic
Да, Metal Gear Solid Master Collection Vol. 1 также выходит на PS4, как официально подтвердила сегодня Konami.

Remnant 2 смещает Diablo 4 и становится самой продаваемой игрой в США в июле 2023 года – GameTopic
Ремнант 2 сбросил Diablo 4 с трона и стал самой продаваемой игрой июля 2023 года, а Pikmin 4 для Switch дебютировал н...

- The Last of Us Part 2 Завоевайте режим Grounded
- Погода больше не является основной угрозой в Frostpunk 2 – люди.
- Посмотрите лучшие игры, которые мы попробовали во время Steam Next Fest! От метроидваний до рогаликов, выживания до стратегий, у нас есть эксклюзивная информация о самом лучшем из лучшего.
- «Соник Ёжик 2 За кулисами блокбастера в мире игры»
- Рюдзи Сакамото Безымянный ребенок в Persona 3 Portable
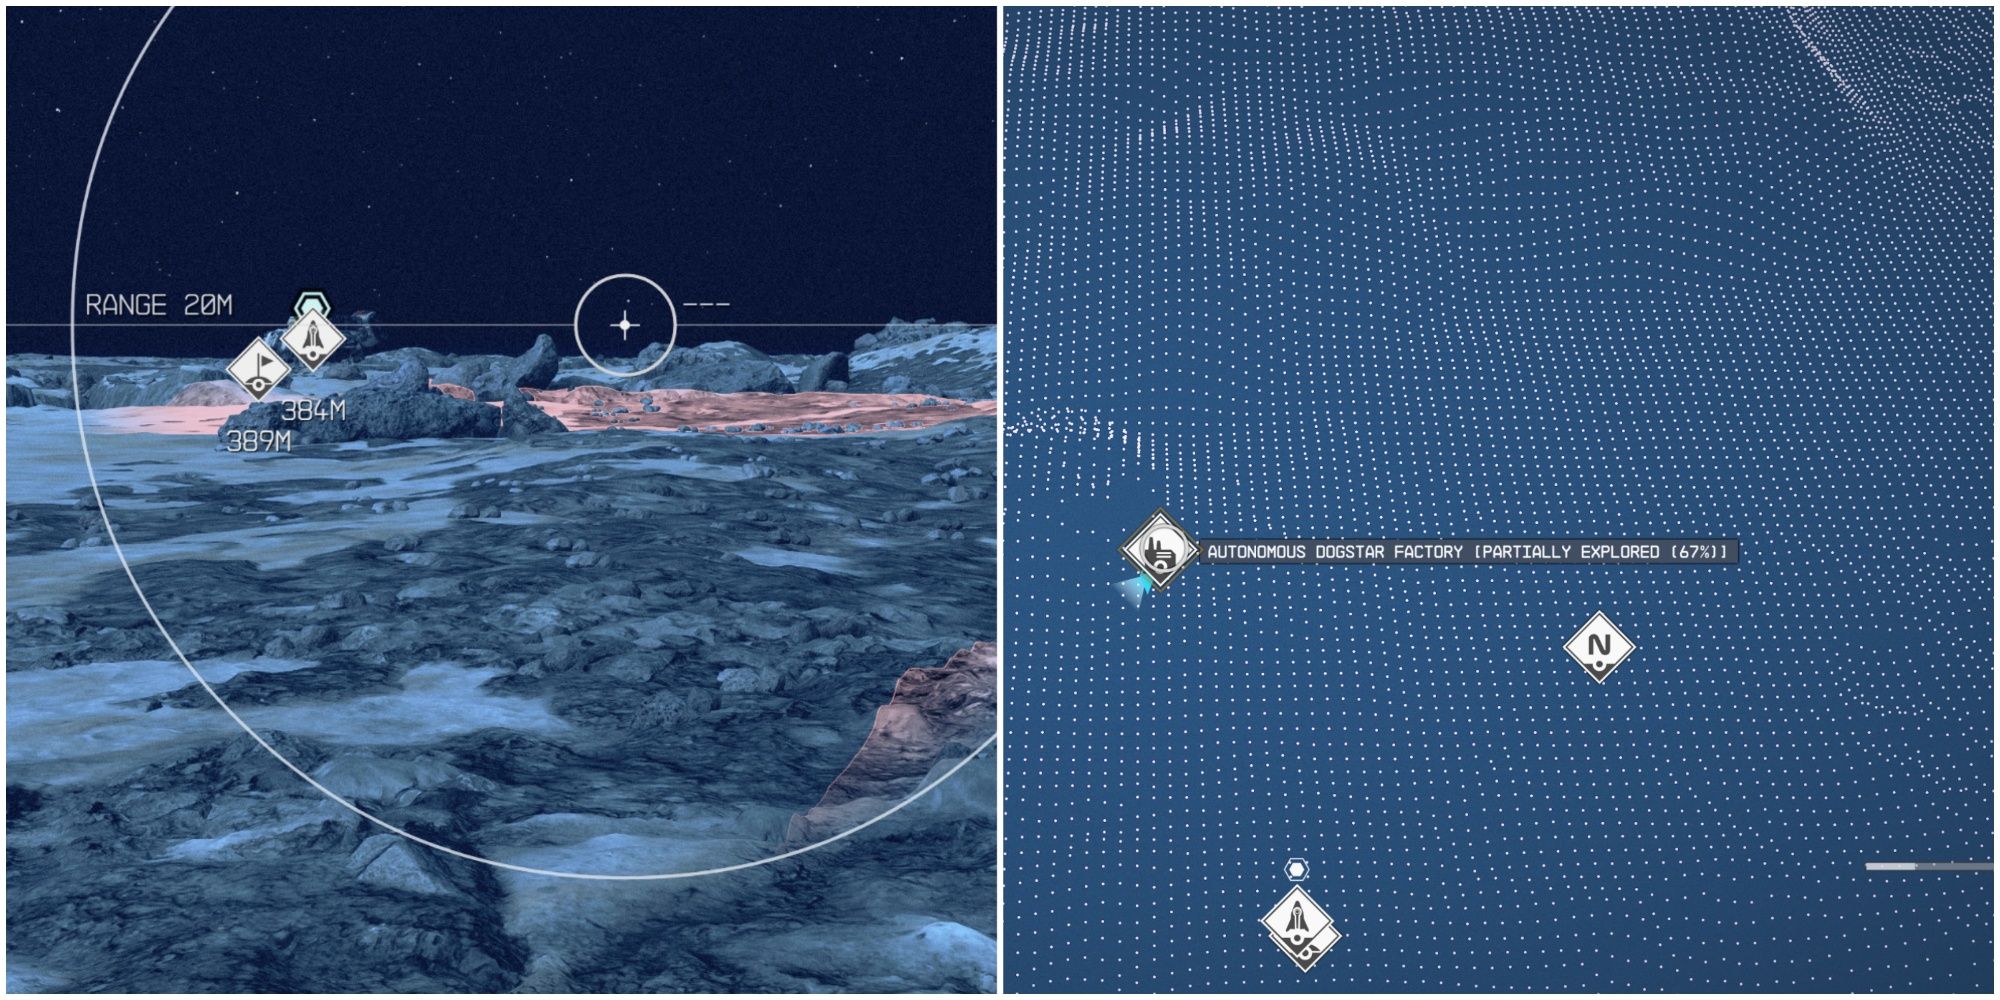
- Звездное поле Как преодолеть аварийные разрезаемые стены
- Лучшие коллекционные предметы и игрушки по фильмам ужасов в 2023 году
- Итоговое руководство по нахождению идеального 4K игрового телевизора
- Alan Wake 2 будет иметь бесплатное и «значительное» DLC
- «Где найти выдр»
- Nintendo Switch Скоро ожидаемые AAA-игры и ремастеры.
- Starfield Как завершить исследование Крита (все ресурсы, фауна и флора)
- Персонализированная броня Needler из Halo Infinite взрывная трансформация 🧨🔫💥
- Вот как работает режим нашествия одиночного игрока в настольной игре Mortal Kombat 1
- «Dragon’s Dogma 2, кажется, появится в марте 2024 года»