
Обзор Mortal Kombat 1 для Switch – GameTopic
Mortal Kombat 1 оказывается слишком тяжелым для устаревшего аппаратного обеспечения Switch. Время загрузки ужасное, е...


Обзор Mortal Kombat 1 – GameTopic
Игровой процесс с раздробленными костями в Mortal Kombat 1 является одним из лучших в истории серии, благодаря револю...

Финал Фэнтези 7 Возрождение будет содержать 100 часов контента, Square Enix раскрывает, где закончится часть 2 – GameTopic
После сегодняшнего State of Play Square Enix заявила, что Final Fantasy 7 Rebirth будет предлагать обширный мир с бол...

Объявлен Like a Dragon Direct на 19 сентября с новой информацией о бесконечном богатстве и многое другое – GameTopic
SEGA объявила о проведении прямой трансляции Like a Dragon на следующей неделе, обещая раскрыть больше деталей о Like...

Square Enix потеряла почти 2 миллиарда долларов в стоимости с момента выхода Final Fantasy 16 – GameTopic
Square Enix потеряла почти $2 миллиарда в стоимости с момента запуска Final Fantasy 16 в июне, и новый отчет подверга...

Мортал Комбат 1 не будет поддерживать кросс-платформу при запуске, она будет добавлена позже – GameTopic
«Mortal Kombat 1 будет запущена без кросс-плея, подтвердила компания Warner Bros. Games».
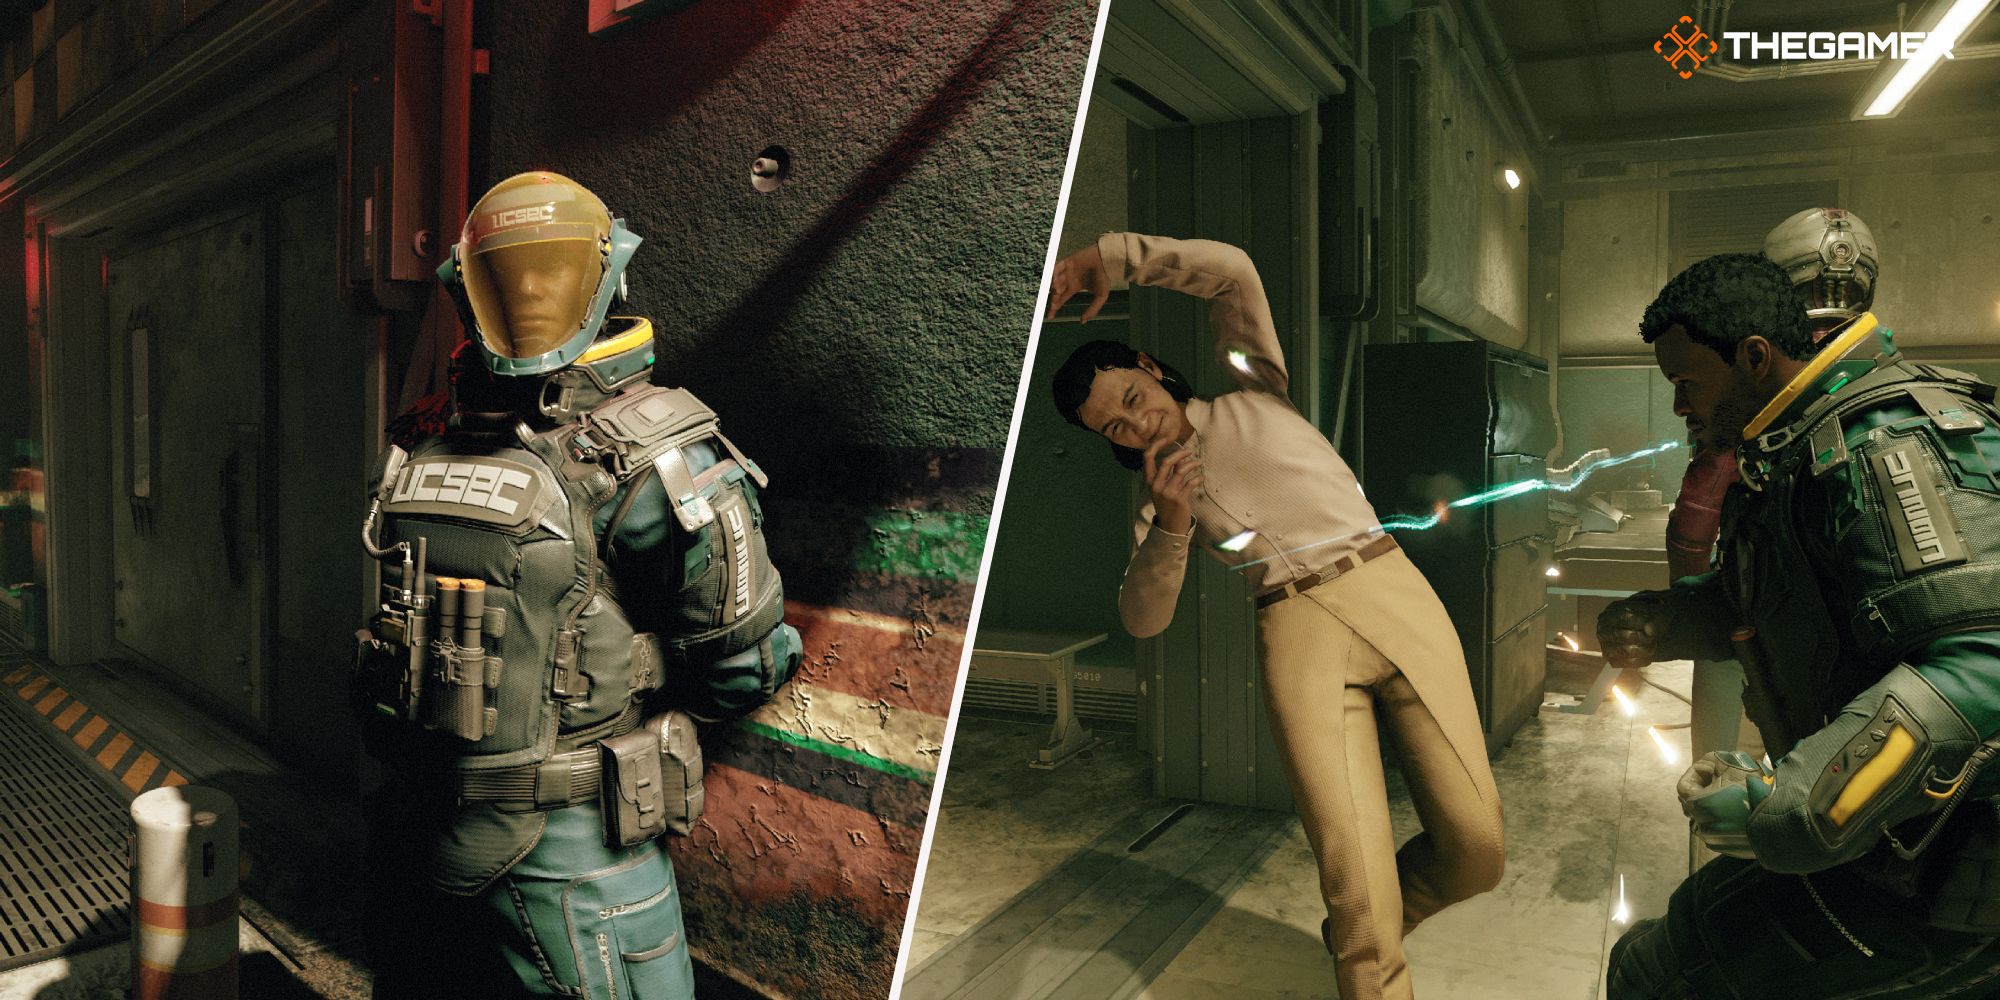

iPhone 15 Pro добавит в 2024 году Resident Evil 4 Remake, Assassin’s Creed Mirage и многое другое – GameTopic
«Apple говорит, что его iPhone 15 Pro представляет собой следующее поколение мобильного гейминга с поддержкой консоль...

Трейлер Mortal Kombat 1 раскрывает первый взгляд на игровой процесс Рейко, а также на смертельный финал Шан Цзунга с использованием ‘Инопланетного’ приема – GameTopic
Трейлер запуска Mortal Kombat 1 дважды служит трейлером геймплея Reiko и Shang Tsung, показывая первый взгляд на пару...

Скин Жан-Клода Ван Дамма из Mortal Kombat 1 показан во время интервью Эда Буна в шоу Hot Ones – GameTopic
Эд Бун, создатель игры Mortal Kombat, отправился в шоу Hot Ones на редкое интервью, посвященное видеоиграм, и продемо...


Эпическая первая акция предлагает разработчикам ревенью в размере 100% на шесть месяцев за эксклюзивность в Epic Games Store.
Программа требует шестимесячного периода эксклюзивности только на ПК с 100% совместным доходом.

Конами подтверждает разрешение и частоту кадров Metal Gear Solid Master Collection Vol. 1 – GameTopic
Компания Konami выпустила свежее разъяснение о разрешении и частоте кадров в Metal Gear Solid Master Collection Vol. 1.

Разработчик Call of Duty Дэвид Вондерхаар покидает Treyarch после 18 лет работы и 8 игр – GameTopic
Дэвид Вондерхар, директор студии Treyarch, который работал в компании 18 лет и помог доставить 8 игр серии Call of Du...

Final Fantasy 16 получит два дополнительных DLC-расширения, а его порт для ПК официально находится в разработке – GameTopic
Square Enix объявила, что Final Fantasy 16 получит два дополнительных контента для загрузки (DLC), а также официально...

- Реакции на протечку трейлера GTA 6 стали жертвами банов и удалений на стримах – GameTopic
- БЛИЧ Тысячелетняя кровавая война — Банкай Рэнджи, объяснение
- My Time At Sandrock Руководство по бою
- Глава шестая Испытания головоломок и безумие с белой краской в Portal Revolution
- Фанаты Fortnite раскрывают свои мечты о сотрудничестве в 2024 году и позднее.
- Warhaven представляет историю Блэйда на Gamescom ONL перед доступом к раннему доступу
- Необычайные битвы Луффи в Новом Мире Преодоление мощных противников
- «Watermelon Game теперь поддерживает английский язык на Switch»
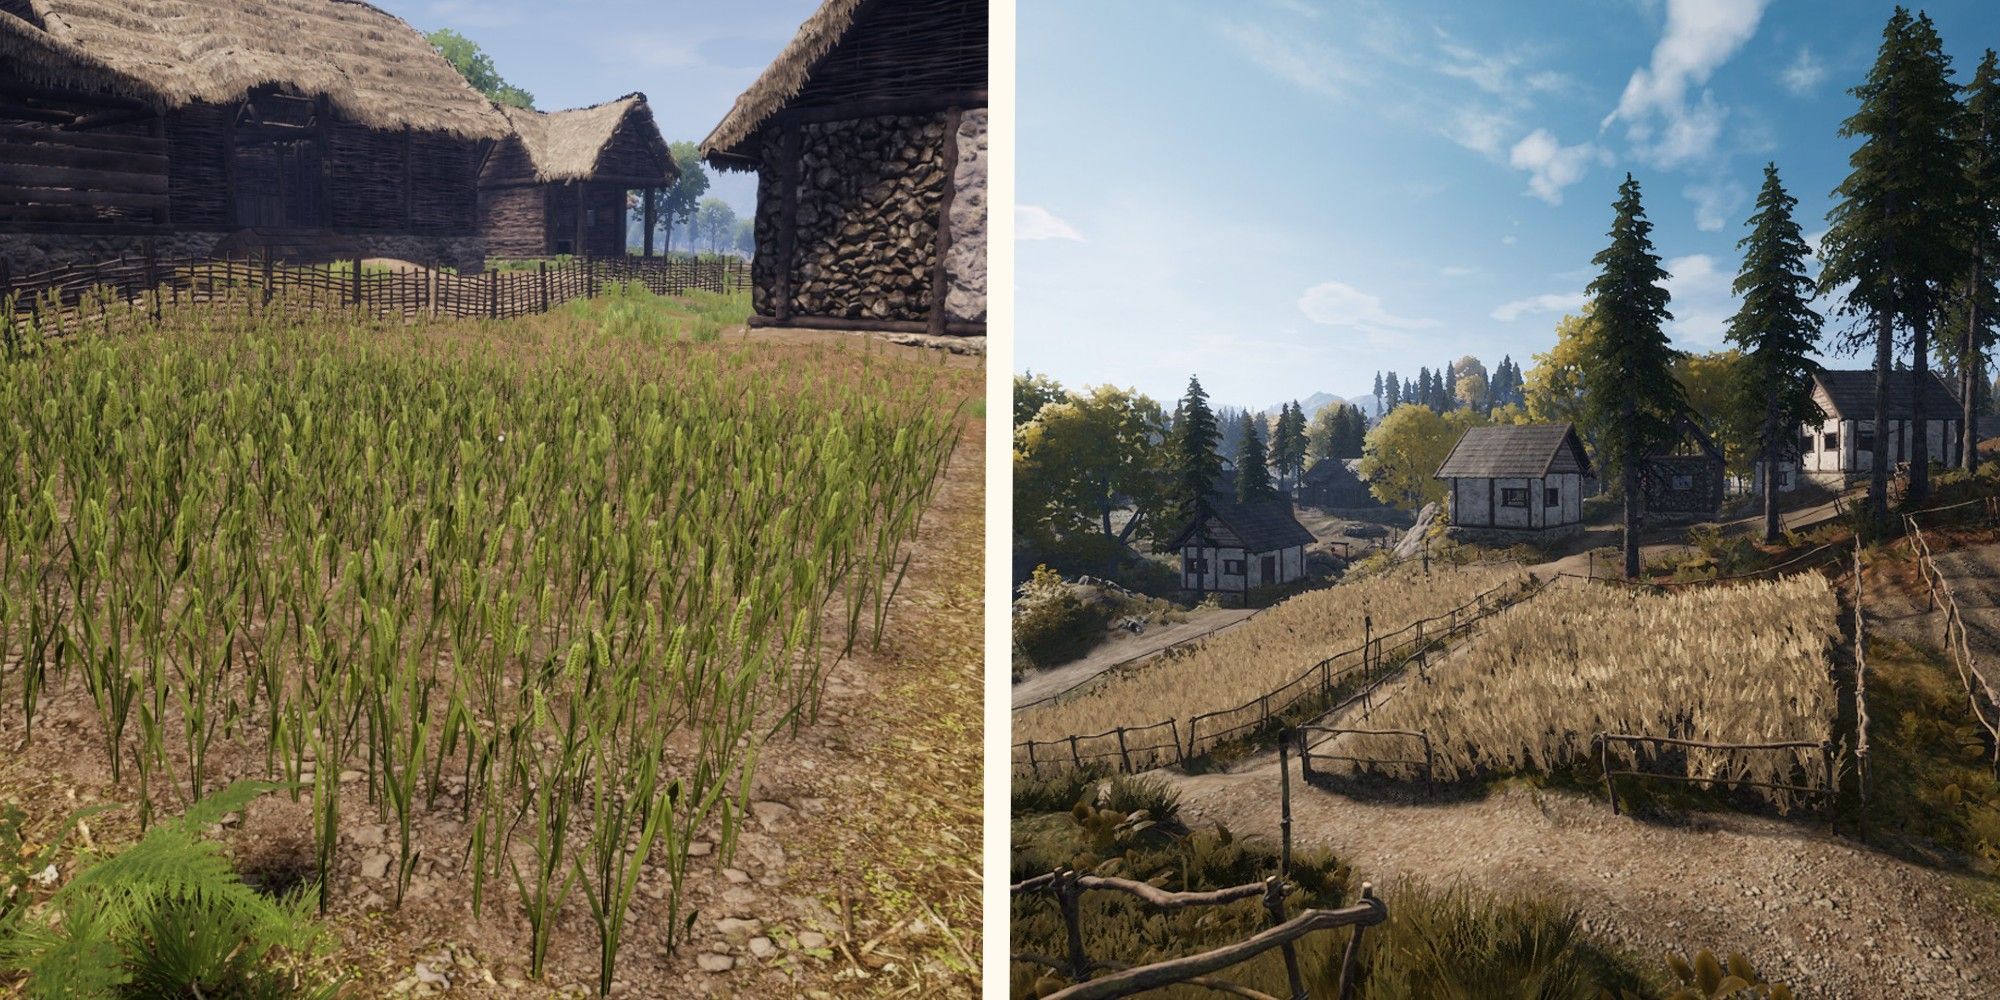
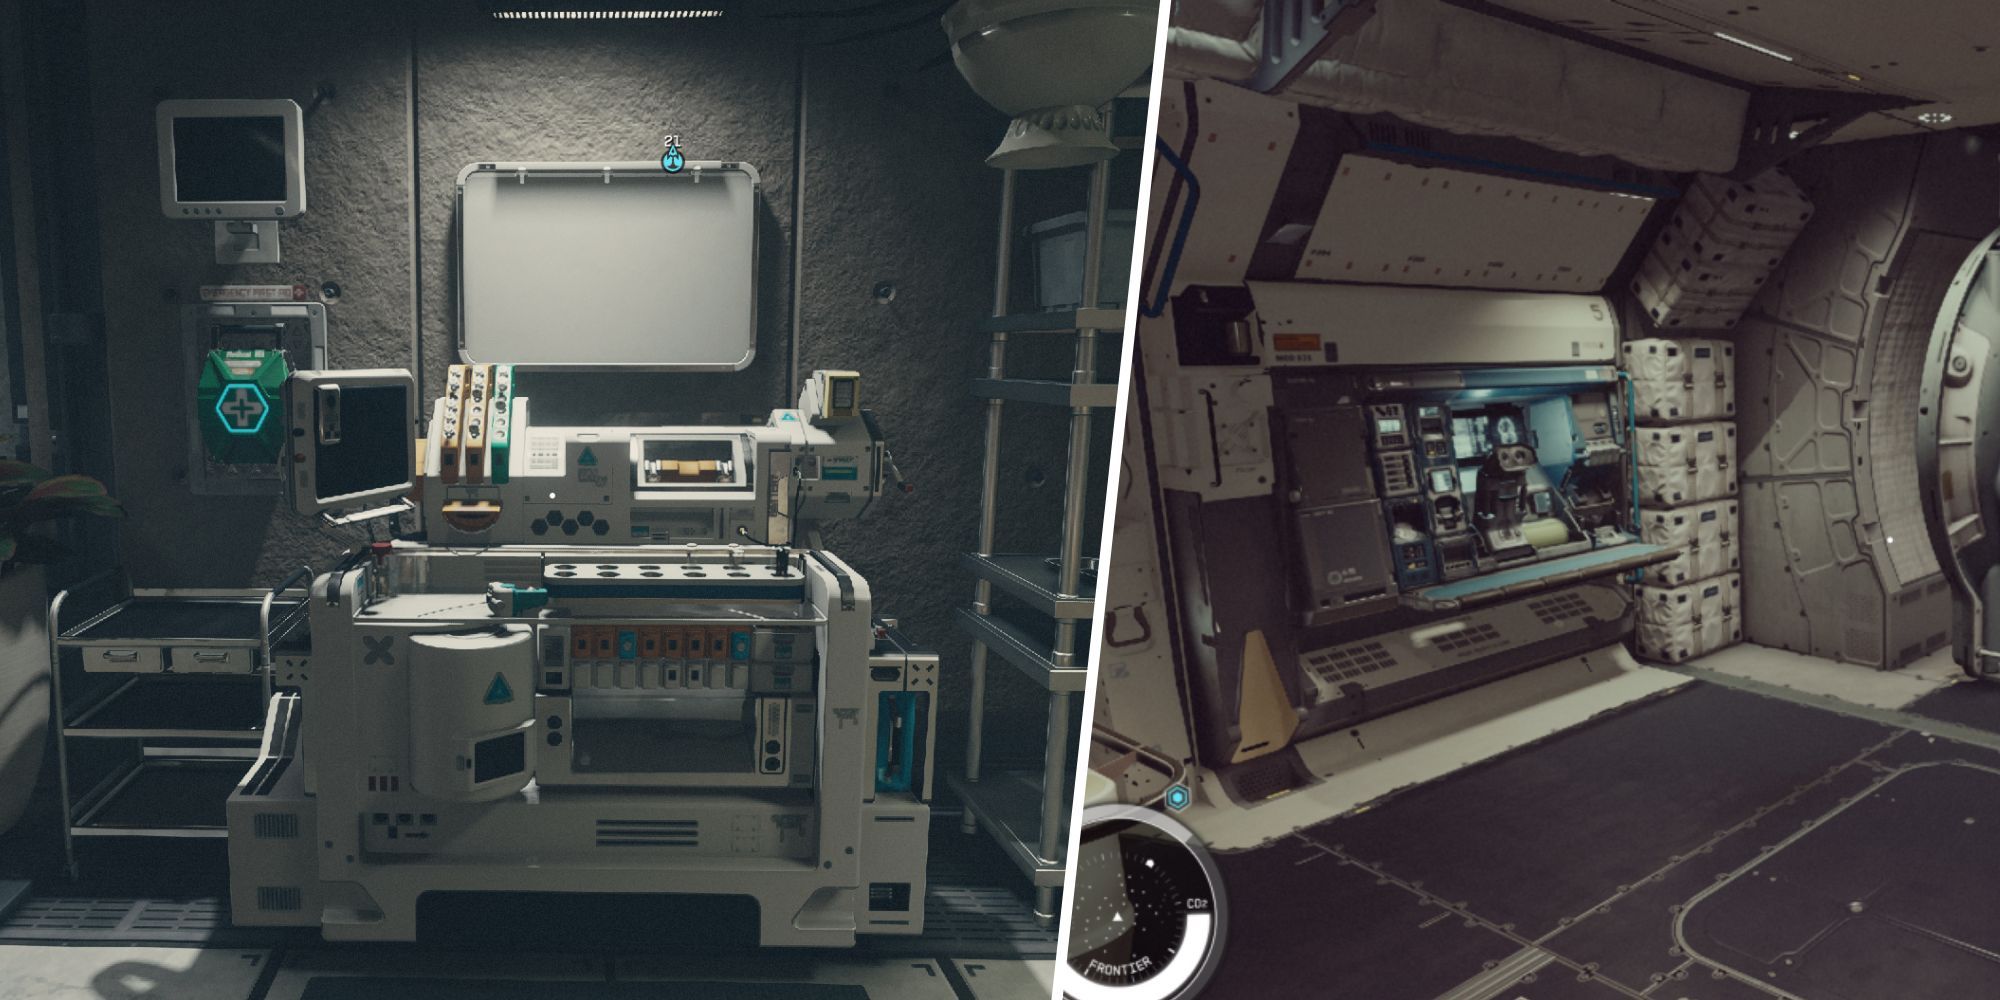
- Старфилд прохождение квеста Остановка посева
- Черепашки-ниндзя Гнев Мутантов – Радикальное приключение теперь доступно на нескольких платформах!
- 💥 Истории Кензера Зау – Заслуживающее ожидания приключение в стиле Метроидвании! 💥
- Исследуя Долину Чэню в Genshin Impact Распутывая тайну Спящей автоматонки 🕵️♂️😴
- Самые забавные эпизоды Наруто Восхитительный отдых от битвы
- Милые персонажи в Persona 3 Reload Обаятельные Персоны, которых вы не захотите пропустить! 🐱🔥🎃
- Как получить печать убийцы богов в игре Elden Ring