
Разработчик Payday 3 заявляет, что проблемы с матчмейкингом решены, 3,1 миллиона игроков с момента запуска – GameTopic
«После катастрофического запуска, из-за которого Payday 3 была непригодна для игры для многих игроков, разработчик St...

Larian раскрывает самые популярные мультиклассовые сборки в Baldur’s Gate 3 – GameTopic
Baldur’s Gate 3 вышла уже почти два месяца назад, и теперь разработчик Larian раскрыл свои самые популярные мультикла...

Актер Кал Кестис в процессе создания Star Wars Jedi 3 – GameTopic
Третья часть серии игр Star Wars Jedi находится в разработке, это подтвердил актёр, сыгравший главного героя Кала Кес...

Metal Gear Solid будет закрыт на 30 кадрах в сборнике Master Collection – GameTopic
Компания Konami представила новую информацию о предполагаемом разрешении и частоте кадров в трех играх своей грядущей...

Metal Gear Solid будет ограничен 30 кадрами в секунду в Master Collection – GameTopic
Компания Konami представила новую информацию о ожидаемом разрешении и частоте кадров трех игр в своей грядущей коллек...

Разработчик Genshin Impact, Honkai Impact 3rd, получит обновление размером с сиквел в 2024 году – GameTopic
На выставке Tokyo Game Show 2023 компания HoYoverse объявила о выходе второй части игры Honkai Impact 3rd, которая зв...

Третий громоздкий патч и версия для Mac Baldur’s Gate 3 уже доступны, заметки к патчу снова слишком велики для Steam – GameTopic
Долгожданный патч 3 для Baldur’s Gate 3 теперь доступен, внося значительные изменения в игру, а также полностью выпущ...

Ожидаемое с нетерпением обновление 3 для Baldur’s Gate 3 задерживается – GameTopic
Разработчик Baldur's Gate 3, Larian, задержал выход Патча 3, чтобы убедиться, что он будет правильно протестирован.

Более чем на $600 миллионов позже, Star Citizen теперь находится на стадии Альфа 3.20 – GameTopic
Долгое развитие Star Citizen снова продвинулось вперед, на этот раз до стадии Alpha 3.20.

«Xbox, кажется, действительно недооценили Baldur’s Gate 3, но Larian говорит Так сделали все остальные – GameTopic»
Большая утечка от Microsoft показала, что Xbox действительно кажется недооценивал Baldur's Gate 3, но, чтобы быть спр...

Обзор Payday 3 – GameTopic
Сильный старт, хоть и сейчас наличие сейфа немного скудное.

Xbox оценила очень низкую цену для получения Baldur’s Gate 3 на Game Pass
Xbox недооценила огромный успех игры.

Майкрософт раскрывает заголовки, присоединяющиеся к Xbox Game Pass с середины сентября до начала октября 2023 года – GameTopic
Компания Microsoft представила список игр, которые присоединятся и покинут Xbox Game Pass с середины сентября по нача...

Вот список финалистов TIGA Games Industry Awards 2023
ТИГА, торговая ассоциация видеоигровой индустрии Великобритании, опубликовала список финалистов премии ТИГА в игровой...
Baldur’s Gate 3 Патч 3 Дата Выхода Подтверждена Вместе с Полной Поддержкой на Mac – GameTopic
Третий крупный патч для Baldur’s Gate 3 выходит 21 сентября, как объявила студия разработчиков Larian. Патч 3 выходит...

- Вы можете начать собирать удвоенный опыт в MW3, покупая энергетические напитки
- Страж Спор – Раскройте силу грибов в Мире Чудес Тайни Тины.
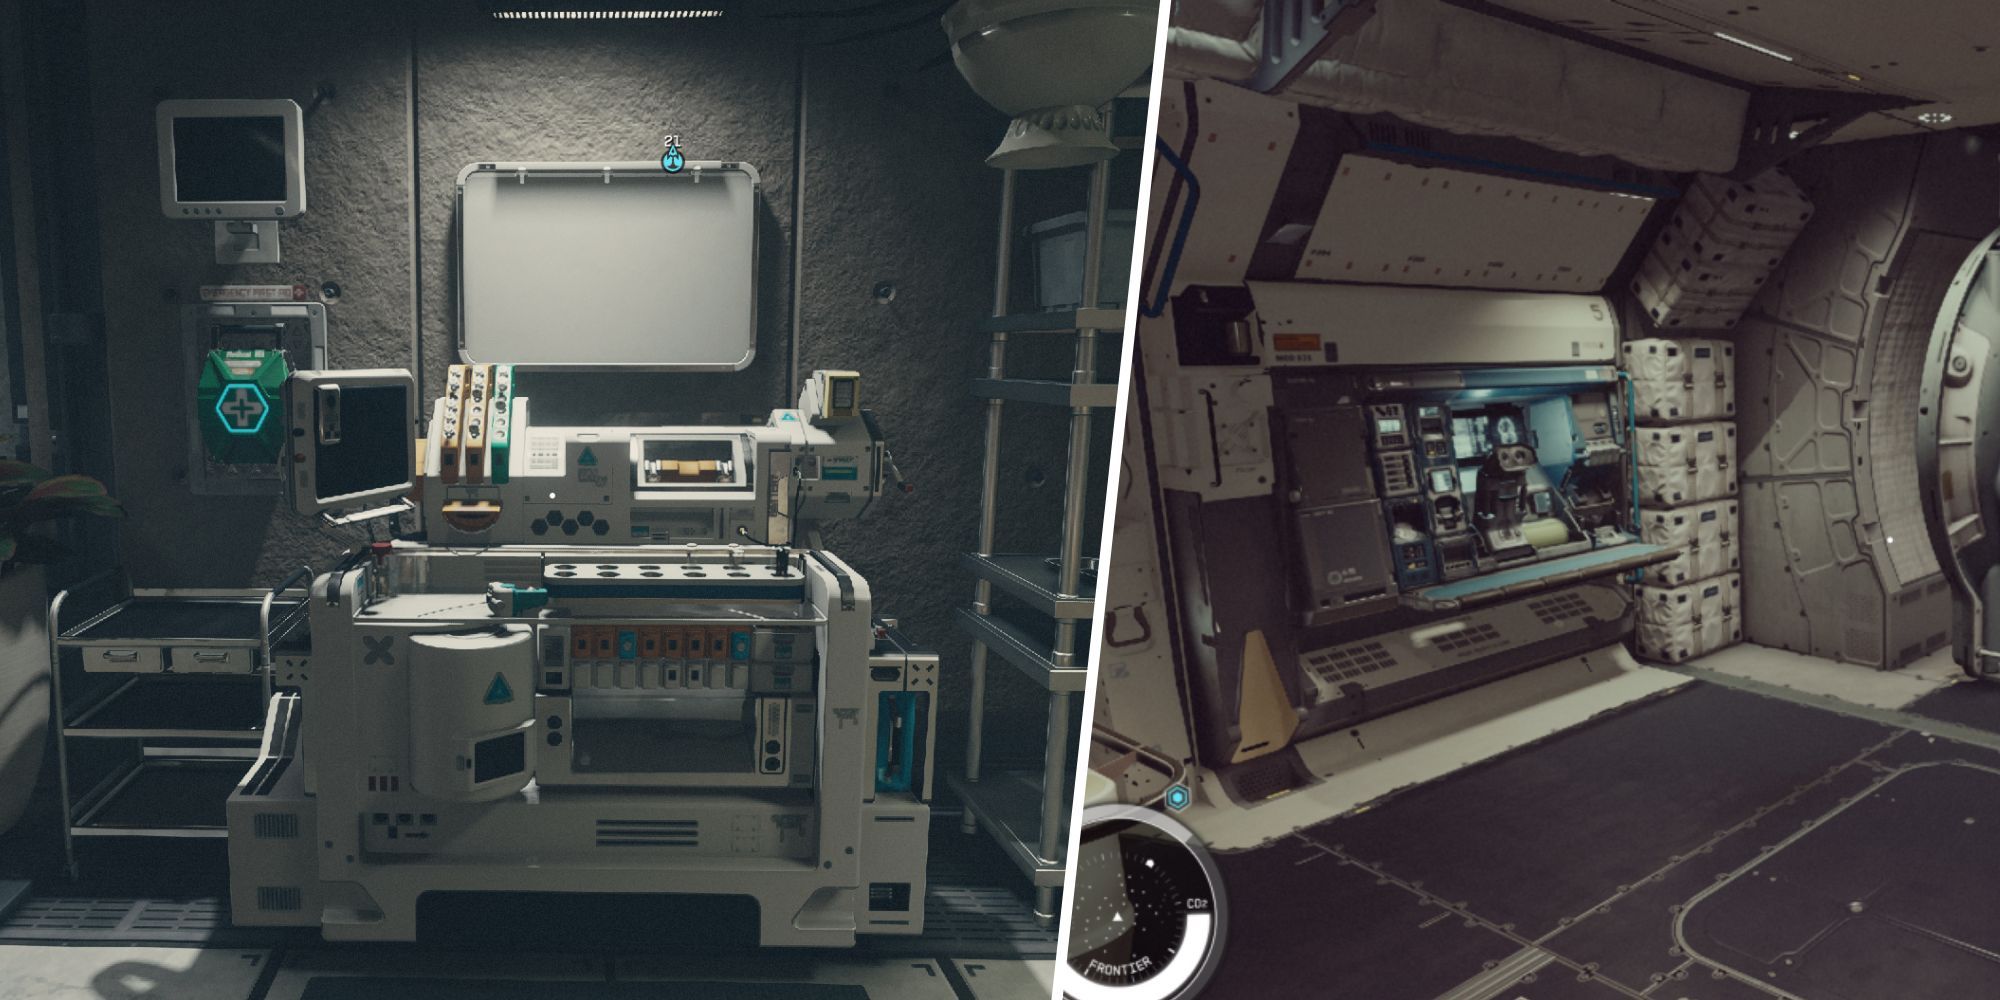
- Starfield Как получить космический костюм UC Antixeno
- Внимание разработчиков привлекает неофициальная интерпретация Witcher 3 в стиле LEGO
- Тодд Ховард говорит сомневающимся, что Starfield работает отлично на самом деле, и вам может потребоваться обновить свой ПК.
- Обзор Bomb Rush Cyberfunk – одно из самых чистых наслаждений в мире игр возвращается в этом почти-сиквеле.
- Попрощайтесь с Oculus требуется миграция учетной записи Meta, иначе потеряете свои игры!
- Гарольд Халибут Очаровательное подводное приключение
- Unity объявляет о массовом сокращении персонала что дальше будет с компанией?
- Разблокировка трофея и достижения Поймал их за снабжение в Helldivers 2
- Обновление Palworld Xbox исправления и будущие функции! 🎮😄
- Контра Операция Галуга – Взрыв из прошлого с современным завитком 💥🎮
- Получите Super Mario Bros. Wonder за 50 долларов до его распродажи
- Любовь аниме к блондинам – 10 иконичных мужских персонажей.
- Armored Core 6 Руководство по достижениям/трофеям